The Marvel Rivals best controller settings can really make the difference when playing as certain Heroes. Depending on which character you prefer to use, your controller settings might be slightly different, with fast-moving characters like Spider-Man benefiting from high sensitivity and button mapping, while slower, more deliberate Heroes like Magneto will benefit from a tighter controller sensitivity.
Whether you’re planning on jumping into Marvel Rivals’ Competitive Mode or still experimenting in Quick Play, the tips below will give an overview of the main things to consider when setting up your controllers. I’ll cover things like button mapping for those using pro controllers, what to consider when setting sensitivity, and how to apply custom settings for each Hero you use.
I’ve been playing Marvel Rivals since the beginning of Season 0, and have used my expertise to put together a Marvel Rivals tier list recently. Having toyed around with every Hero in the game, I’m confident that I’m able to give some advice on changes that’ll help level the playing field in battle.
Marvel Rivals best controller settings: general tips
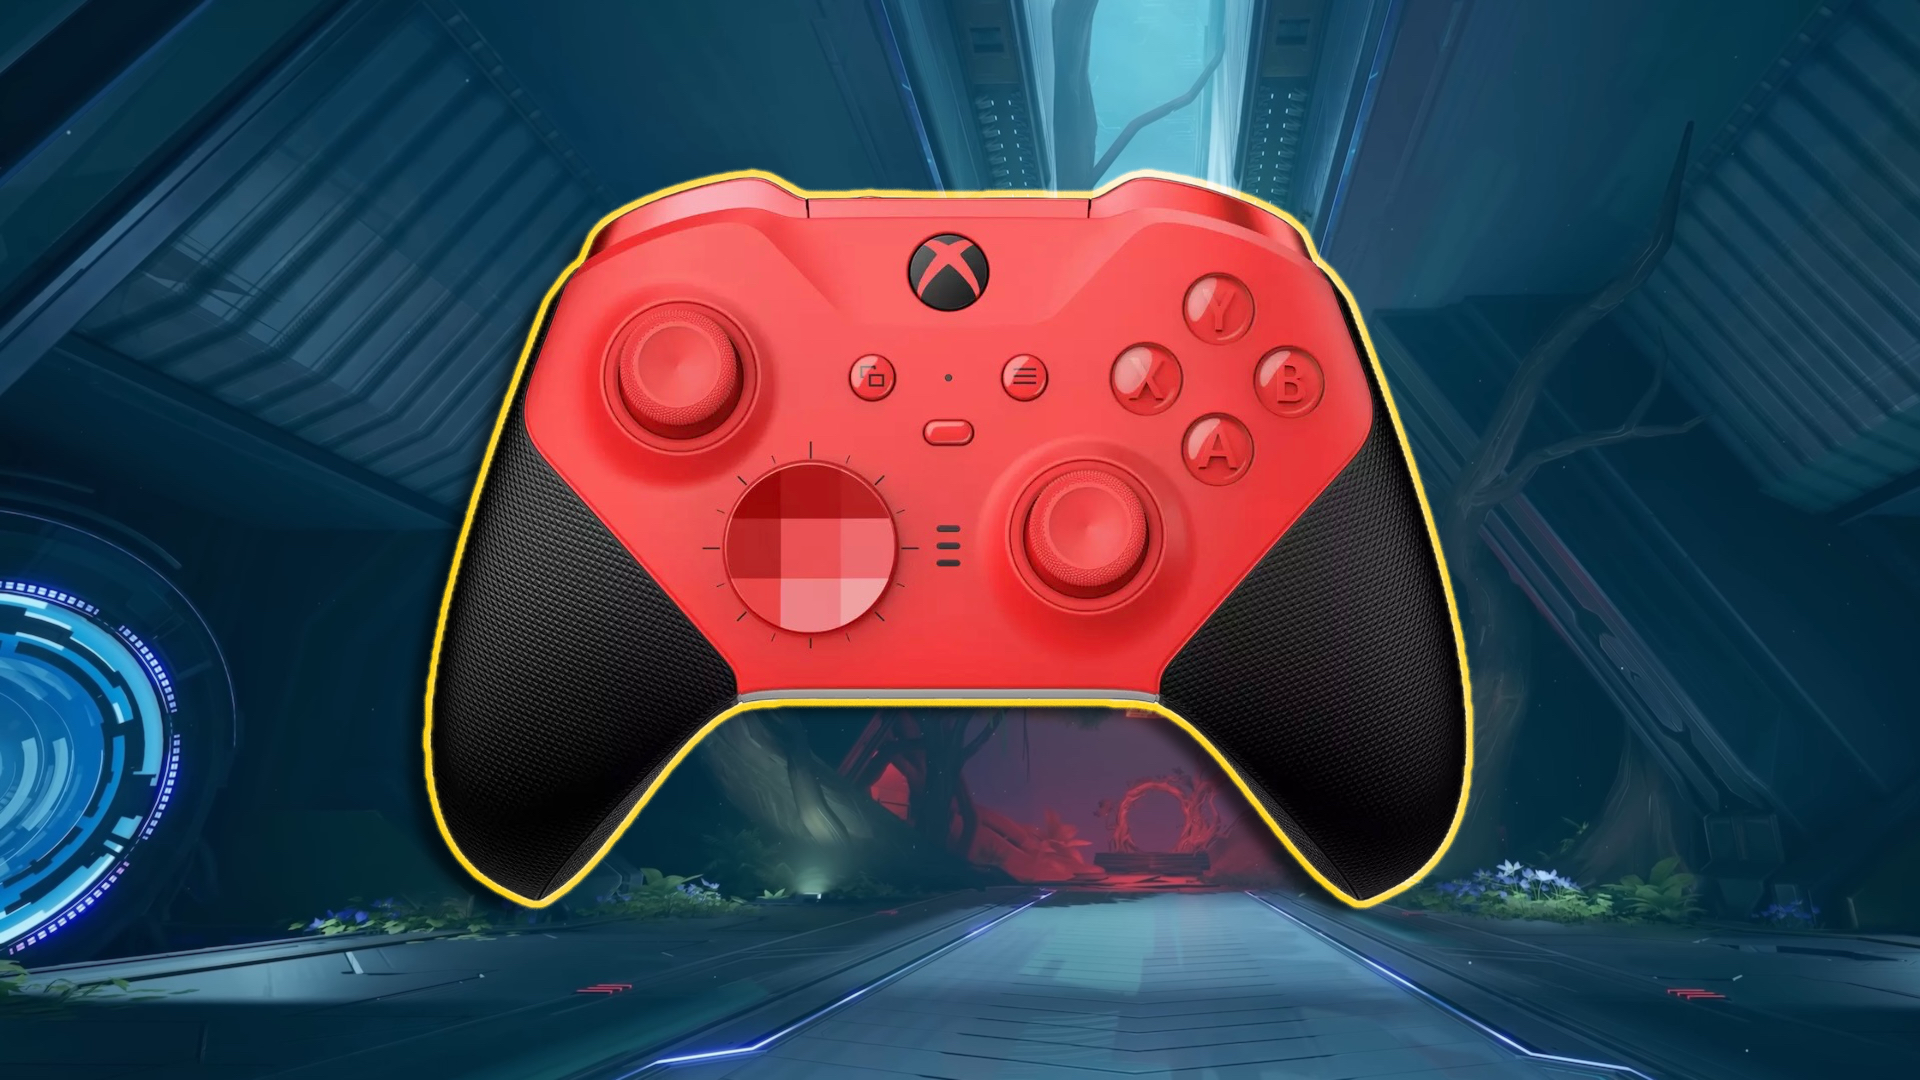
The best Marvel Rivals controller settings below cover some general tips for choosing your sensitivity and button mapping, as well as more tailored advice for specific class types and Heroes. Here are some general settings to consider:
- Horizontal Sensitivity: 180
- Vertical Sensitivity: 130
- Aim Sensitivity Curve: Linear
- Button Mapping: Jump on back paddle where possible
- Vibration: Tactical
- Trigger Effect Function: Off
- Wall-crawling: Advance toward crosshairs (Rocket, Venom, Spider-Man)
- Ally Health bars: On
- Aim Assist Window: 30
- Aim Assist Strength: 80

Choosing the best sensitivity for your play style
The sensitivity you choose is extremely important in Marvel Rivals and depends mostly on what character you pick. Generally, you’ll want to increase your sensitivity from the default. I tend to apply a Horizontal Value of 180 and a Vertical Value of 130 to all Heroes, then tweak from there. There are some Heroes, like Spider-Man and Wolverine, that benefit from very high sensitivity indeed. On Spider-Man, I run 220 and 170, respectively, to allow for quick movement while web swinging.
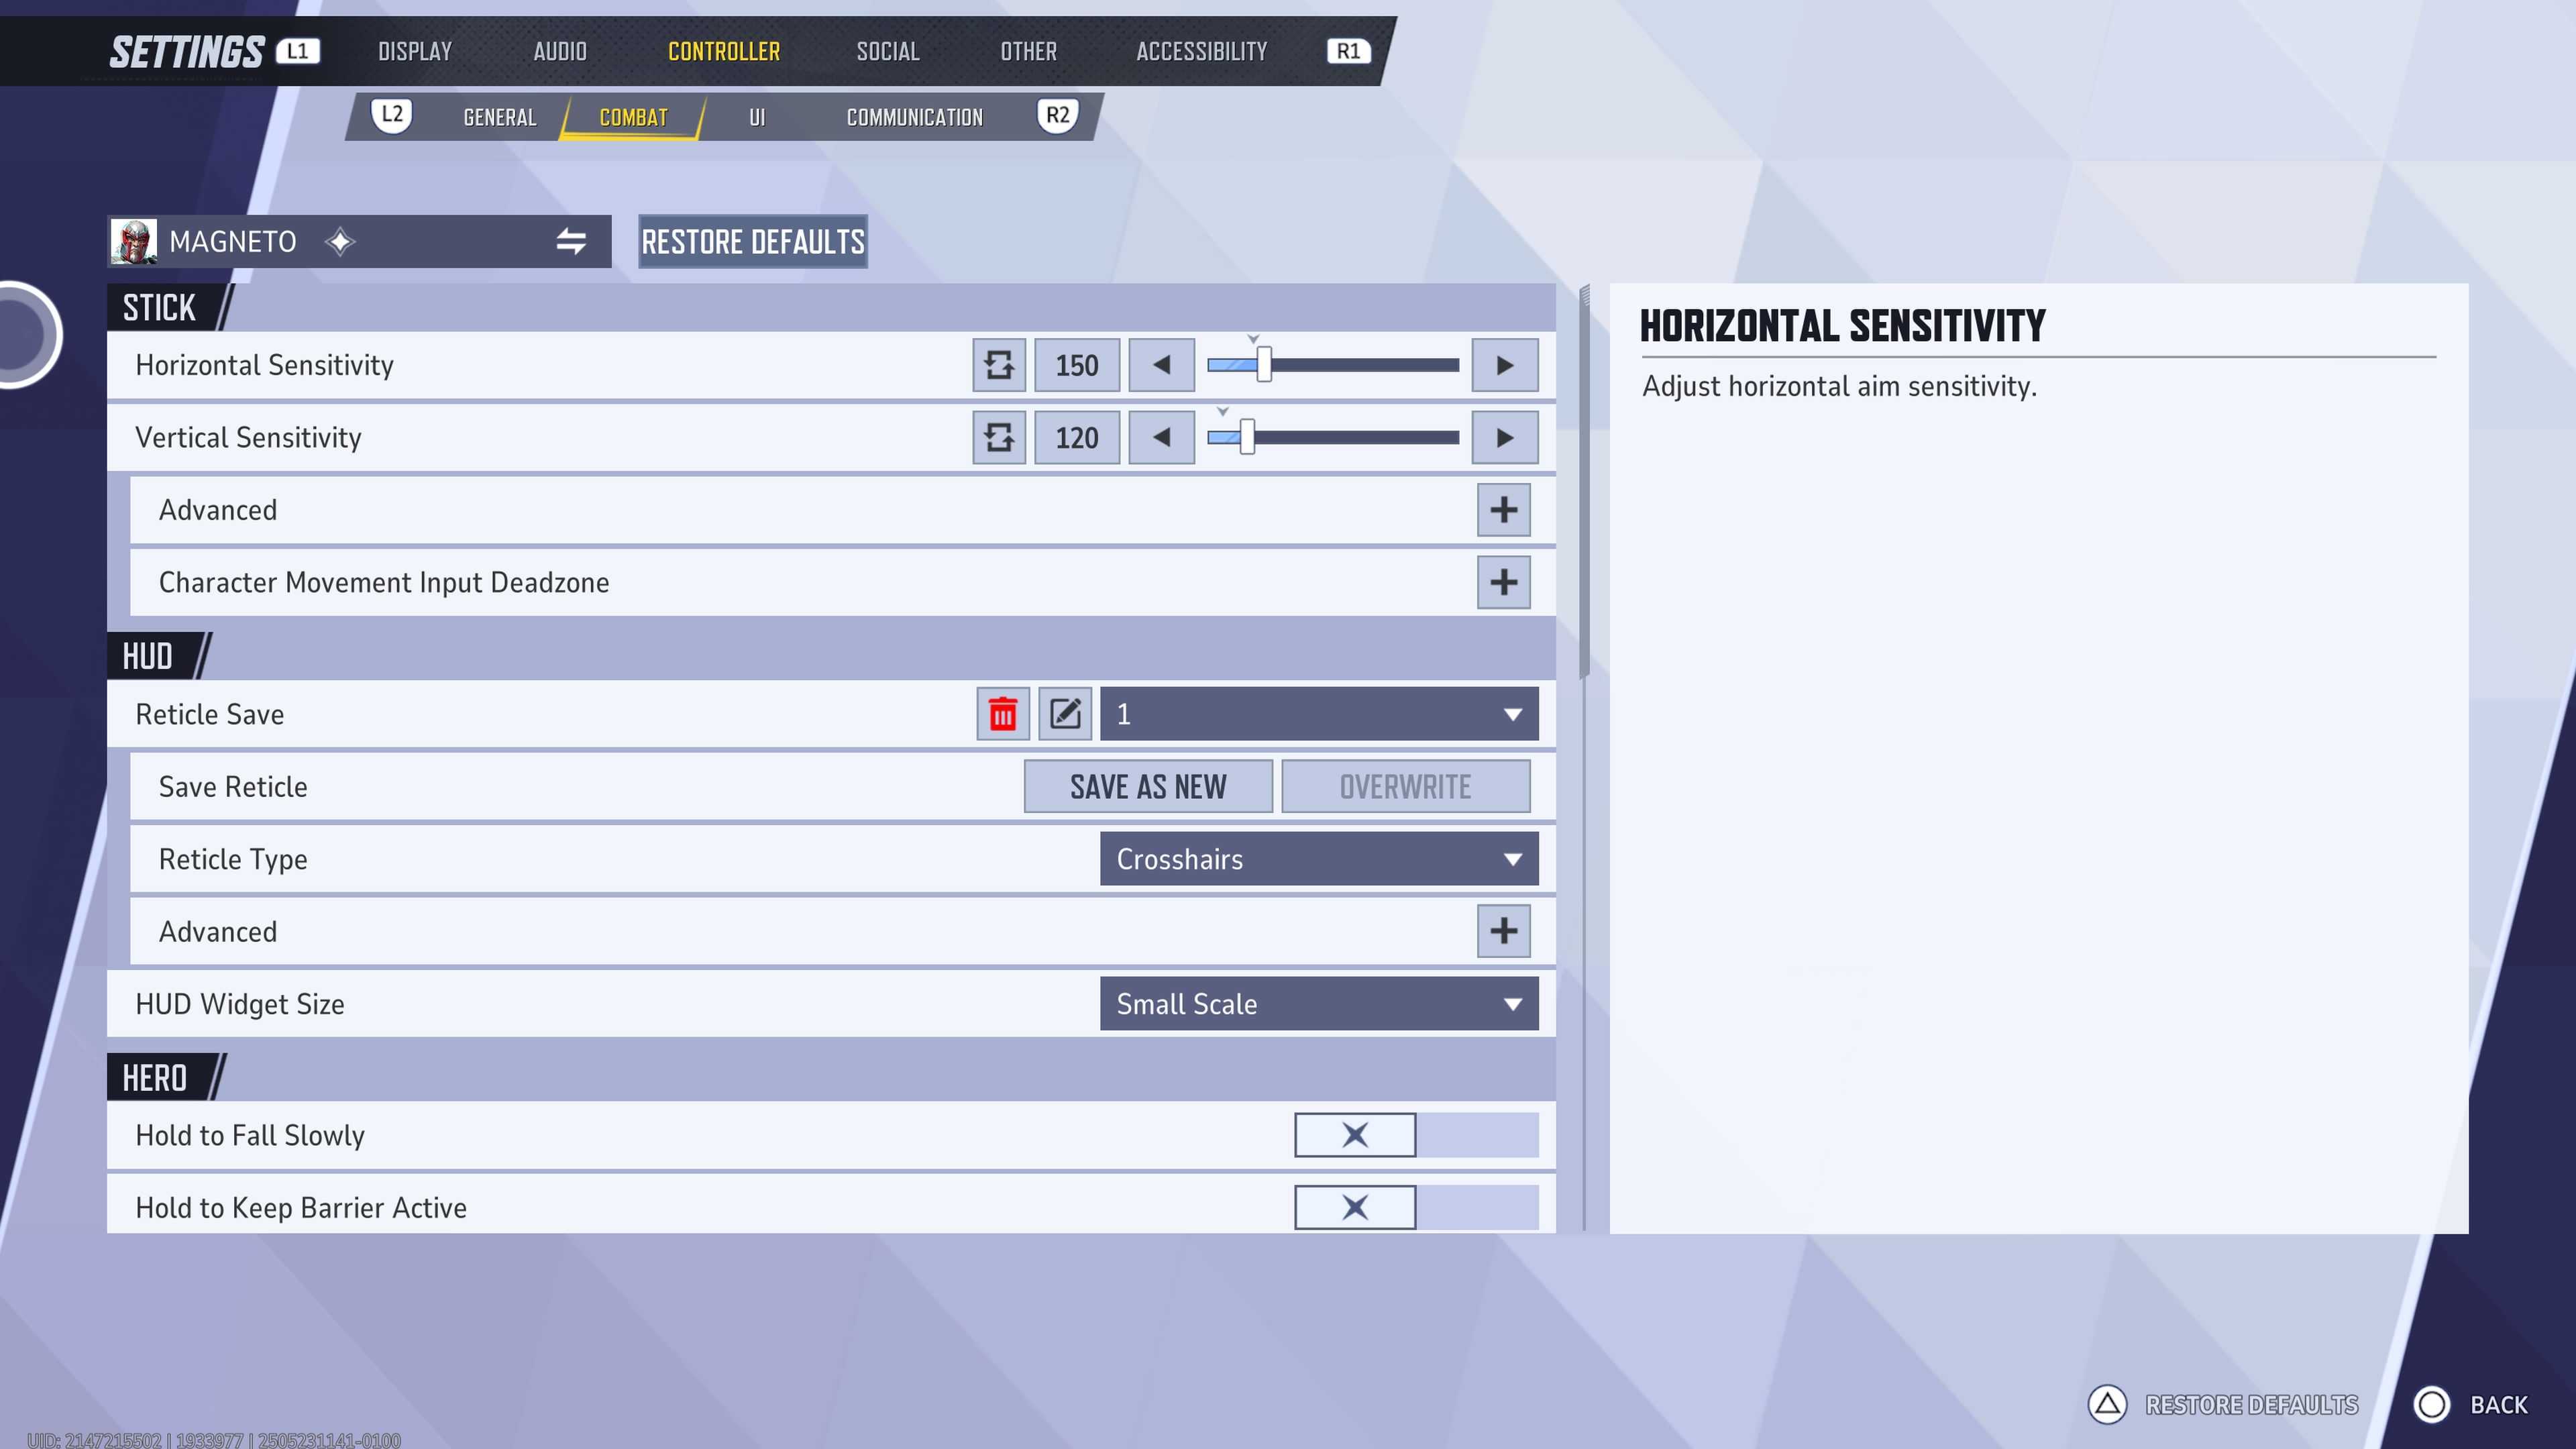
If you’re playing a slower character like Magneto, who generally fires simple projectiles and faces forwards while shielding enemies, you can crank the sensitivity down. I go as low as 150 and 120 when playing Magneto, though sometimes I’ll increase sensitivity if I find myself having to protect my healers more in a given match.
Some of the Heroes in Marvel Rivals function like third-person shooters, like The Punisher. I find that a tighter sensitivity helps me hit my shots here. Experiment with different Heroes, then dial in your sensitivity based on their particular play style. With nearly 40 characters to choose from, there are a lot of different variables to consider. You might even look into Marvel Rivals Crosshairs, which will help dial in your Hero even further.
Marvel Rivals best Aim Sensitivity Curve
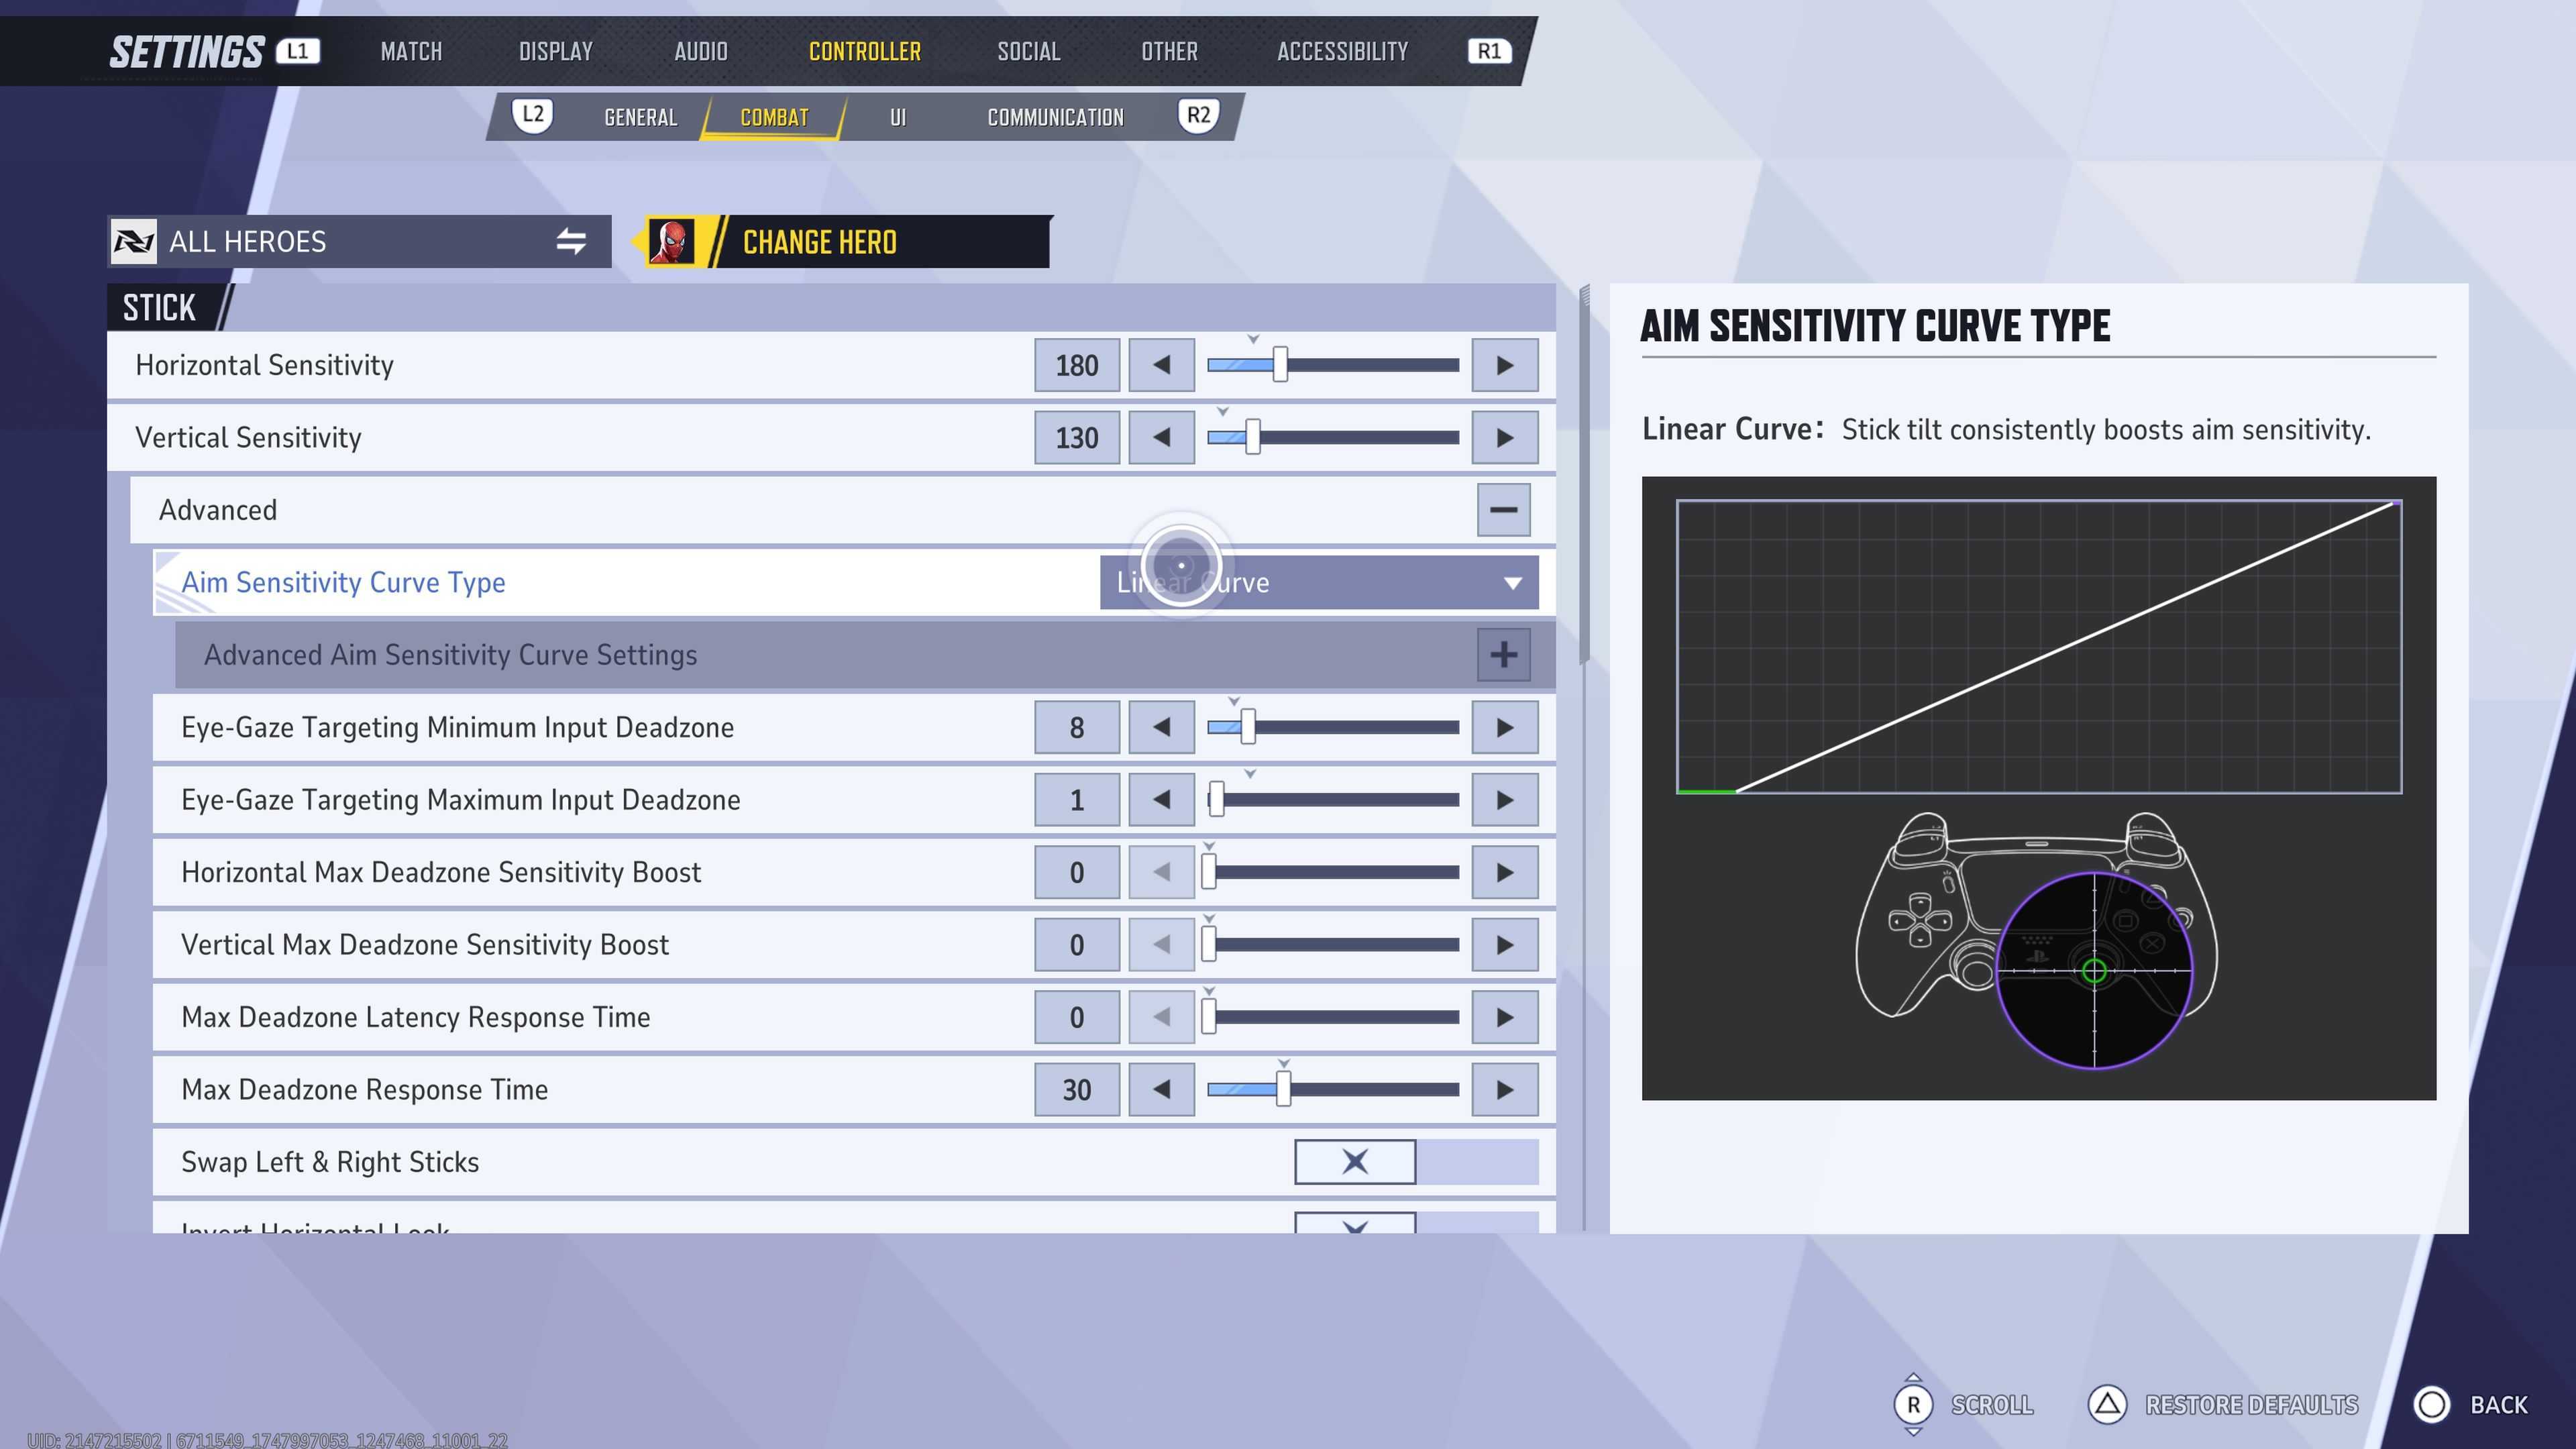
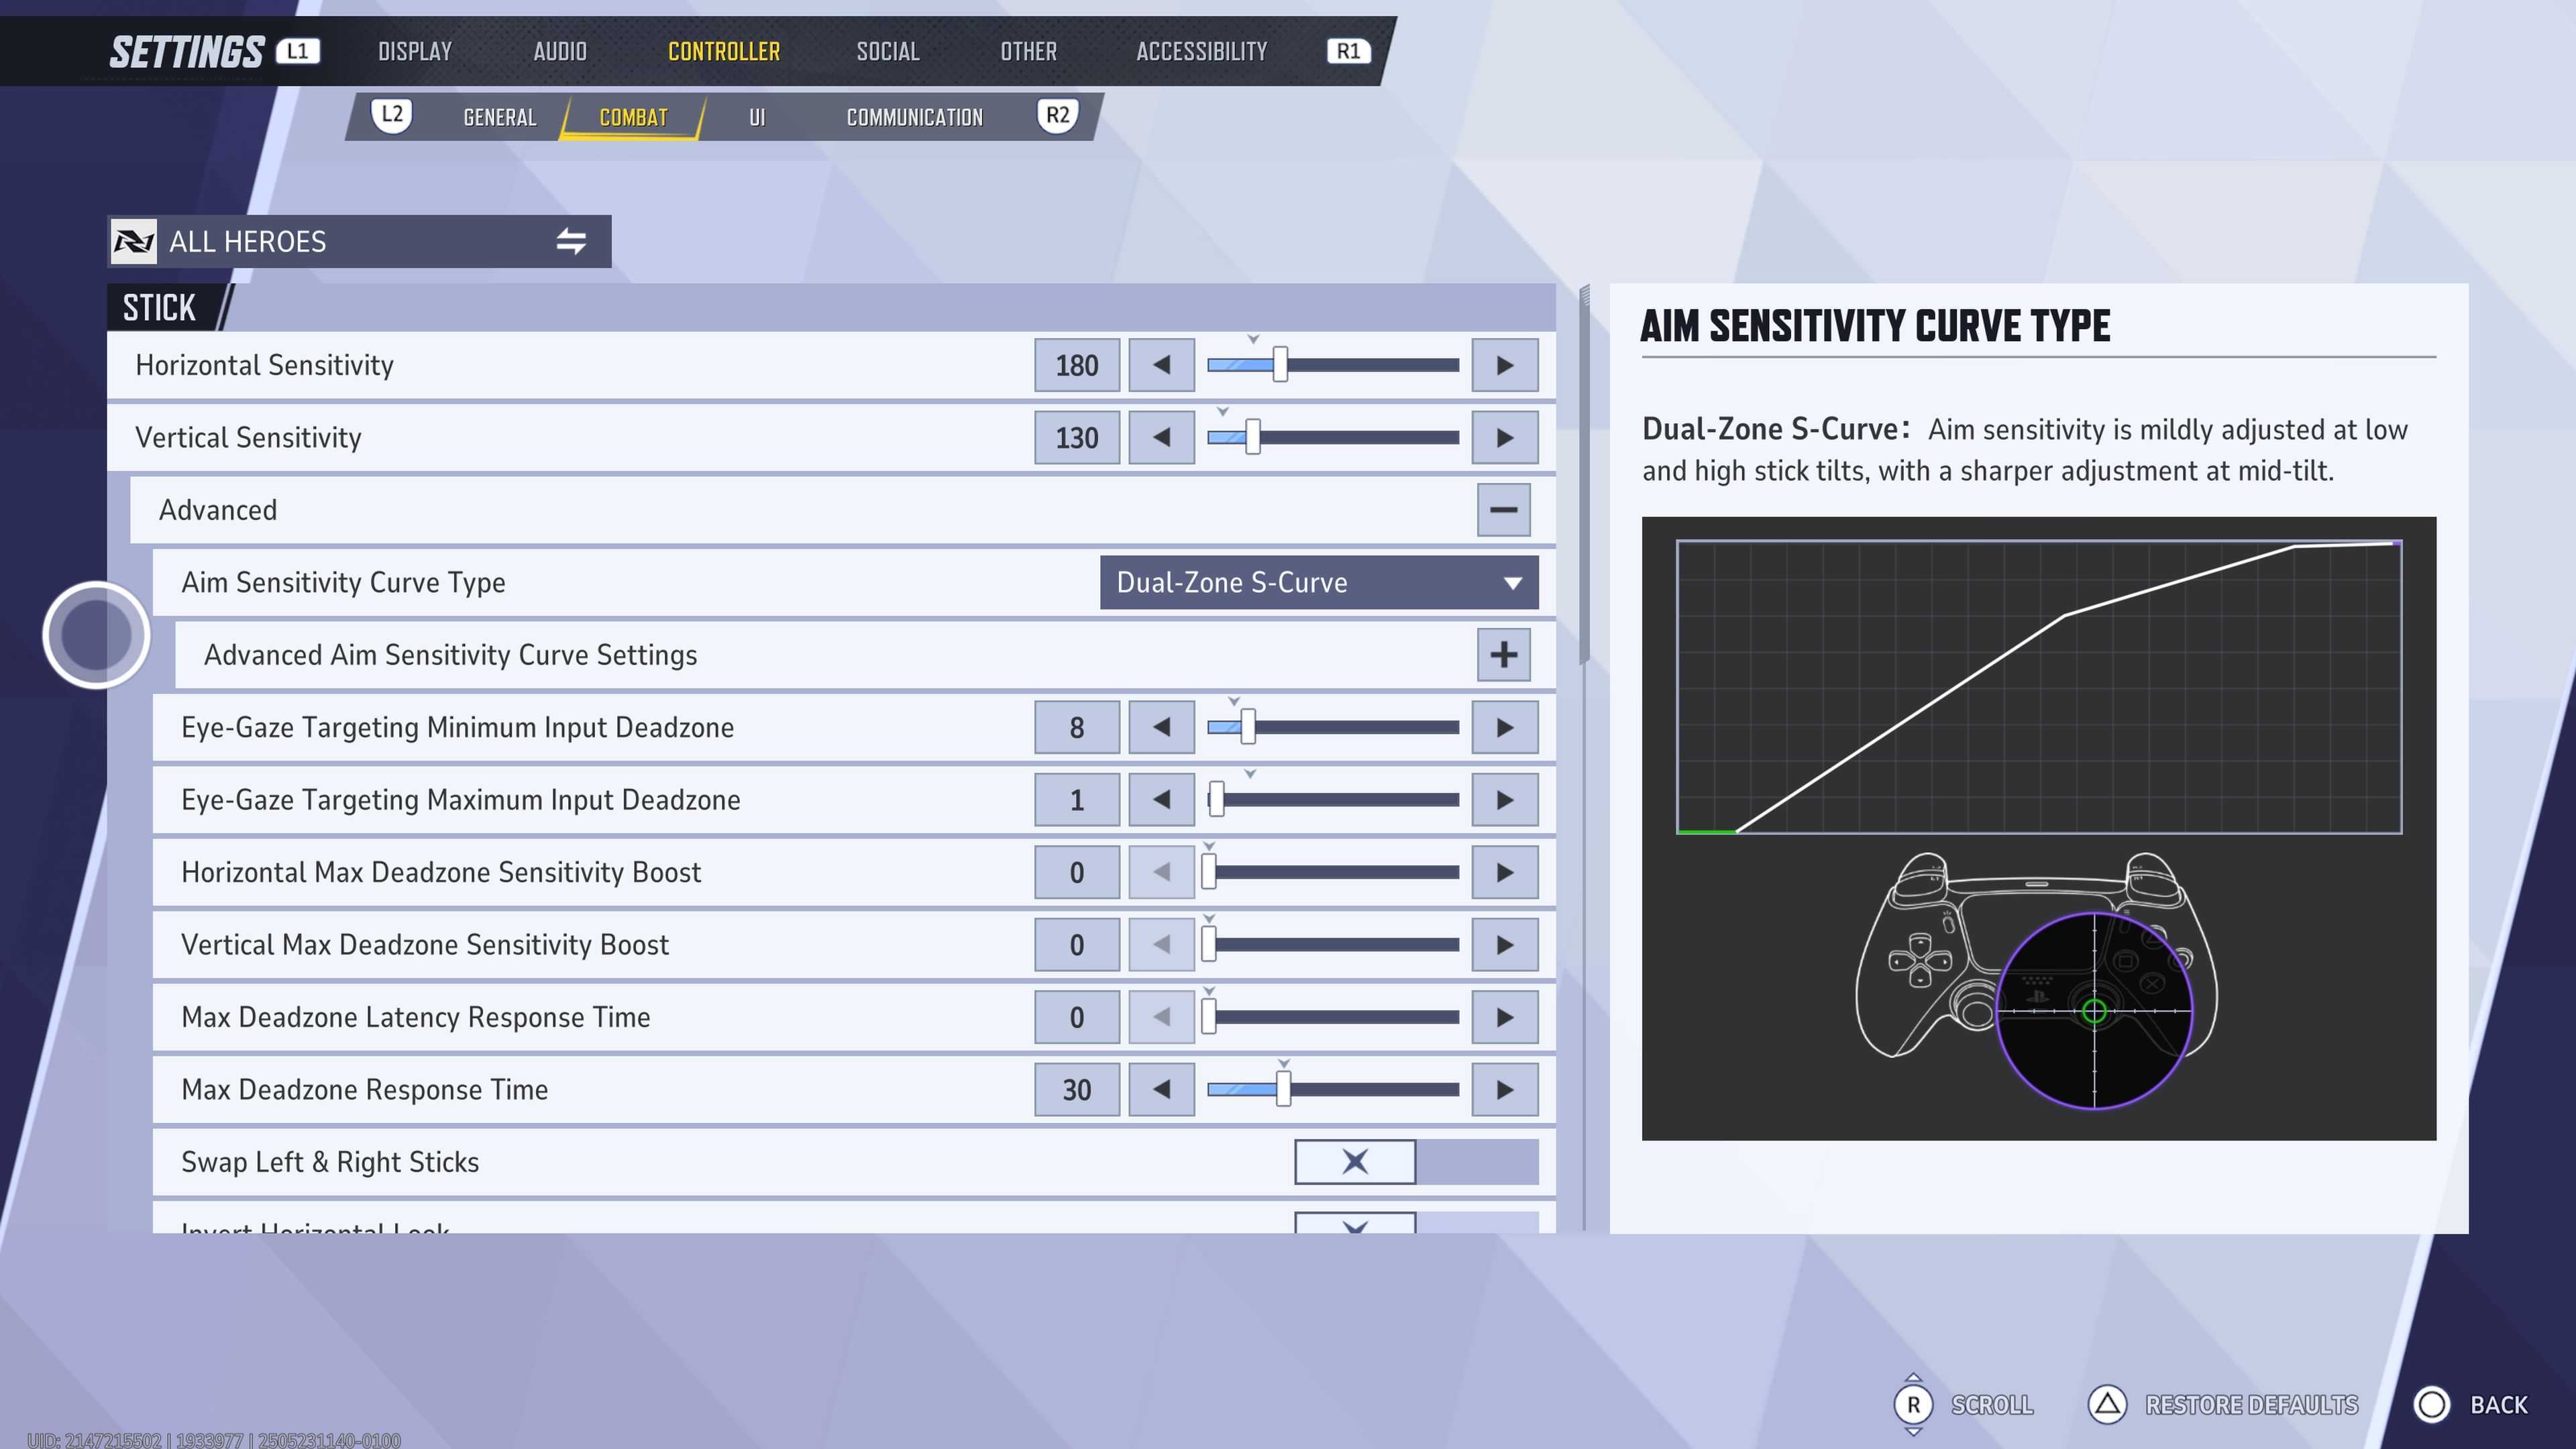
I recommend sticking with a Linear Aim Sensitivity curve, as it’s likely what you’ll be used to in other games. Personally, I’ve switched over to the Dual Zone S-Curve setting as I’ve gotten more and more used to Marvel Rivals, and Vanguard class Heroes in particular. Generally, I’m playing characters that need to stay locked onto enemies, only tilting the sticks gently to aim. I still swing the camera around occasionally to pivot my focus to my Strategists, so the S-Curve gives me a more gradual sensitivity increase above the midpoint.
Because of my play style, I like to have two distinct sensitivity portions to my sticks. Dual-Zone covers this, allowing me to use light movement to track enemies far away, and switch to a high sensitivity at a medium push of the sticks. After a while, I’ve learned to feel these parts of the sensitivity graph and can adjust my aiming accordingly.
Ultimately, you’ll find that you’ll naturally prefer one setting over another, but when starting out, I’d definitely stick to the default. This is especially suited to your early hours, where you’re still experimenting with a wide variety of Heroes. Once you’ve found a main, you may wish to switch to another mode, like I have.
Dig into the Hero-specific controller settings
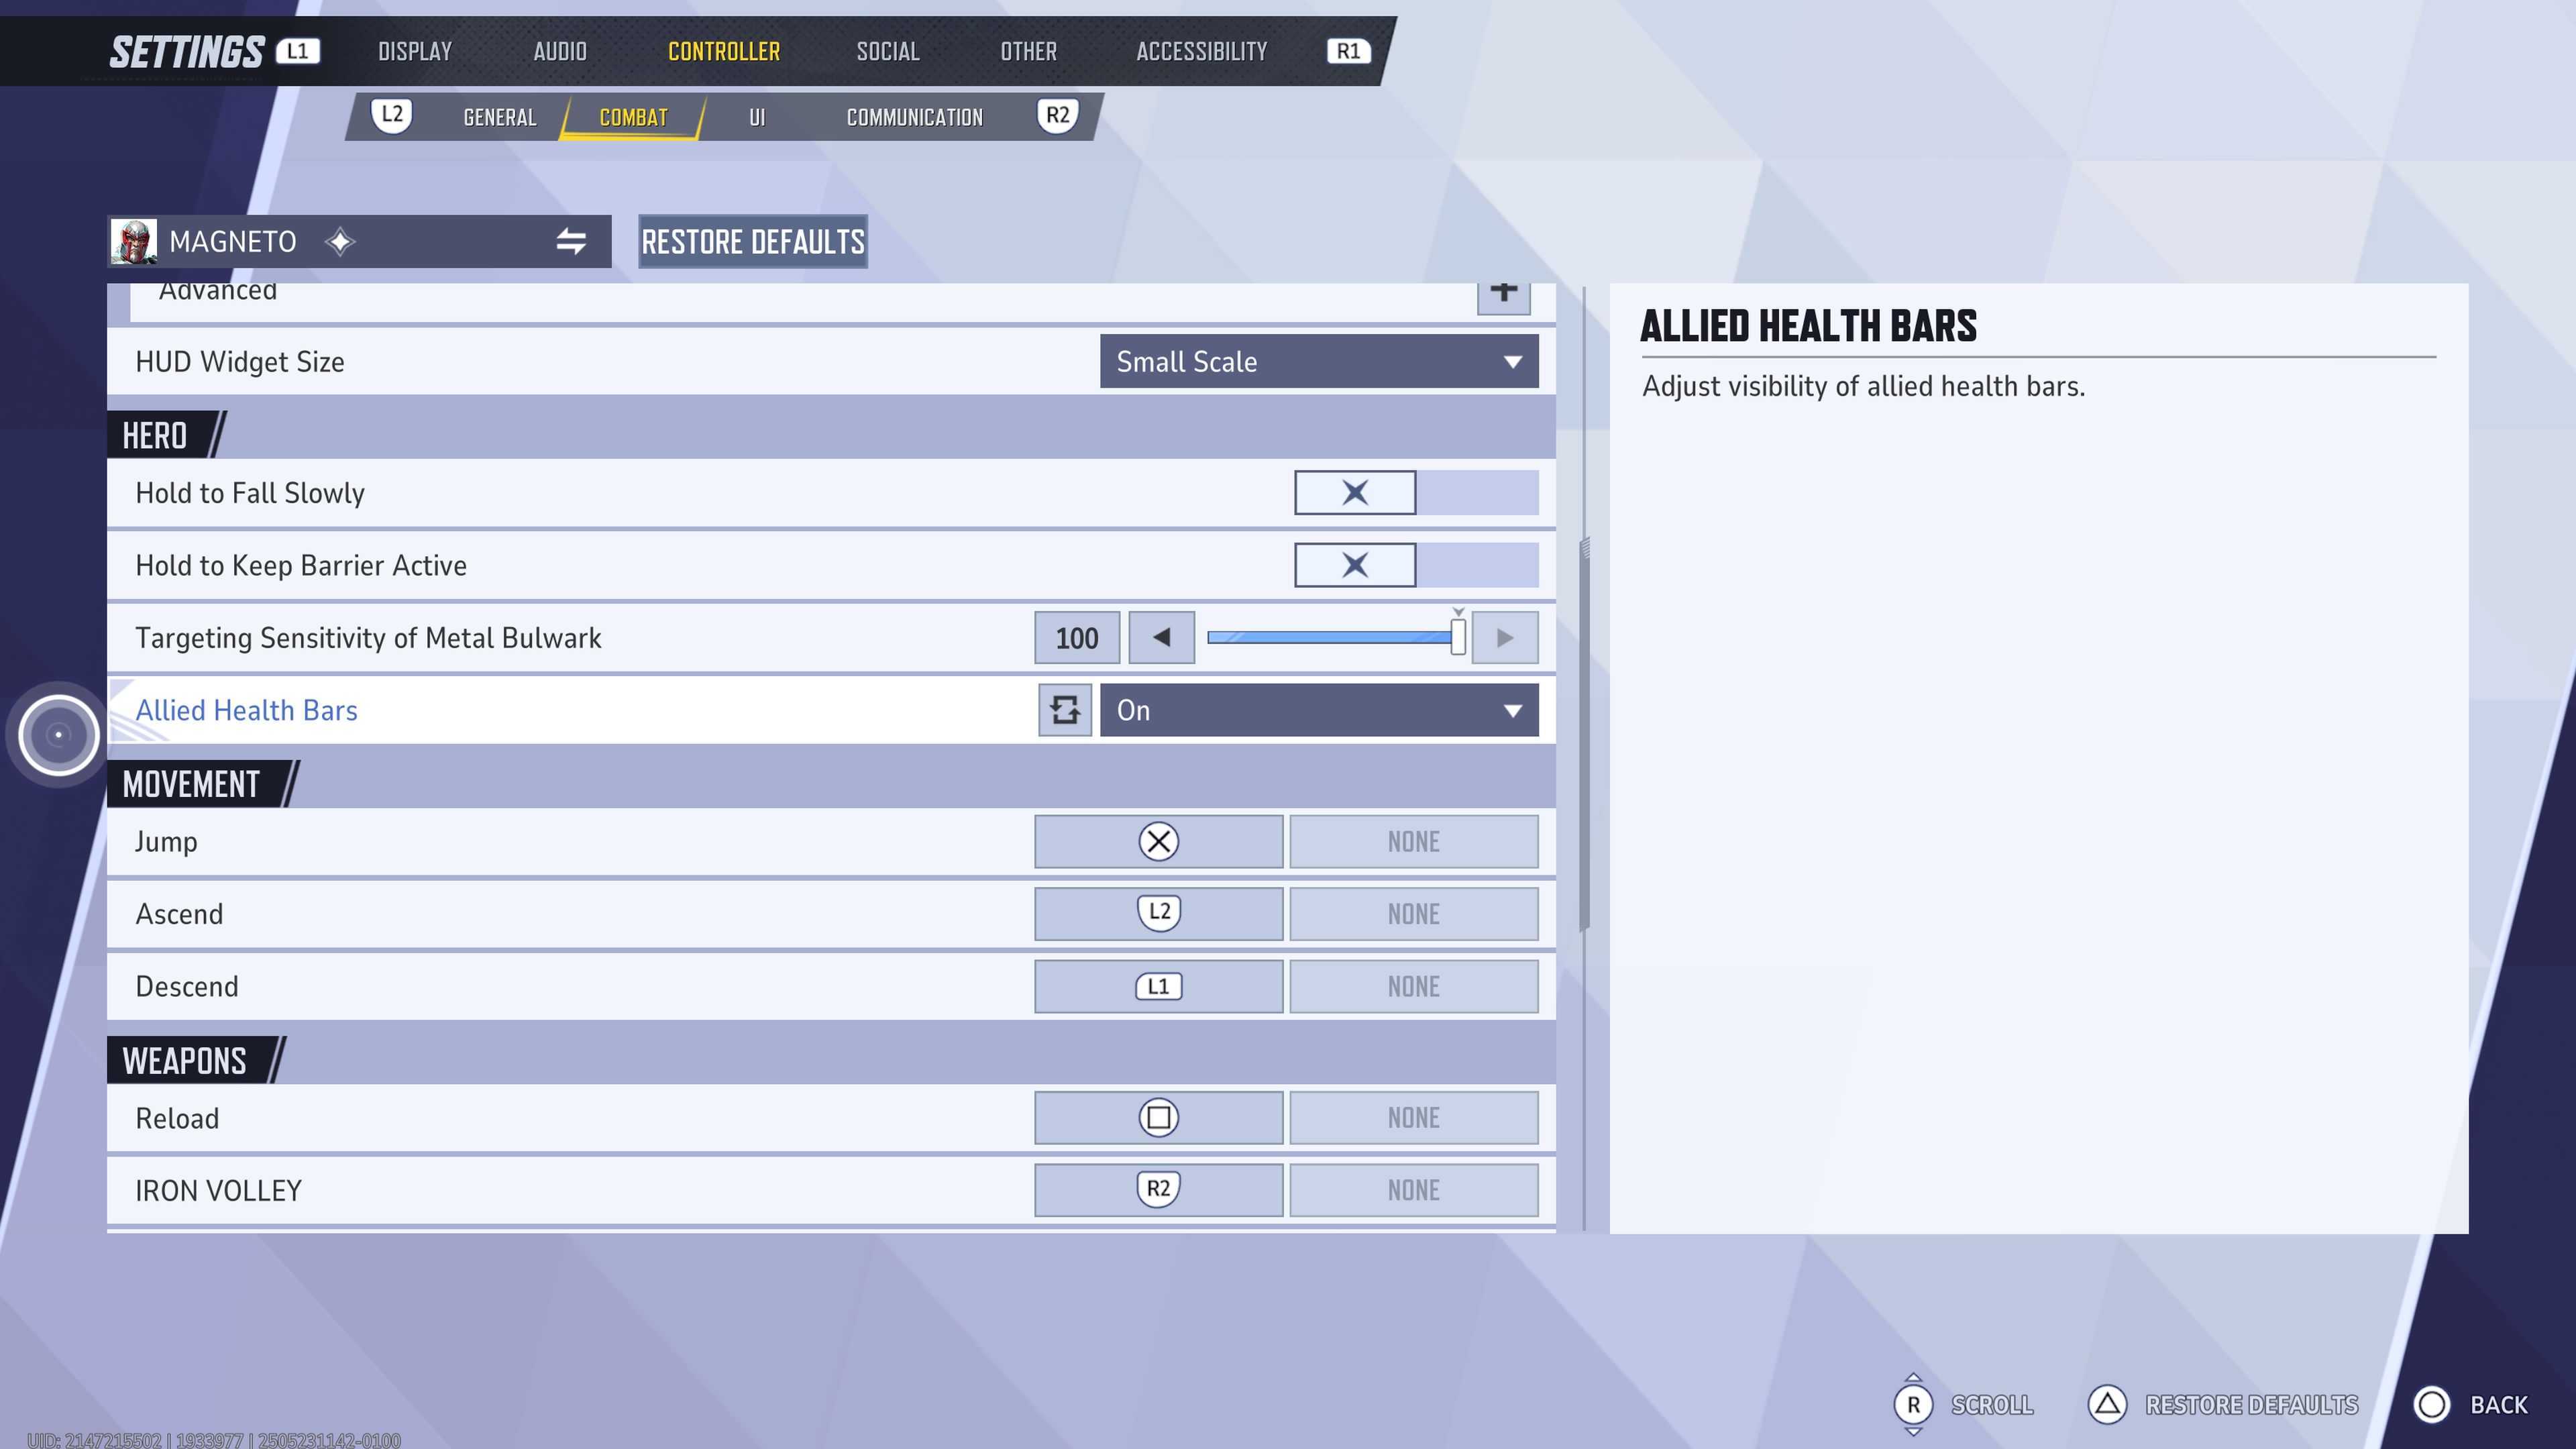
While in the Controller settings, and under ‘Combat’, you’ll find the option to set specific settings per Hero. The majority of the Heroes in Marvel Rivals have exclusive settings. In the image above, you’ll see that Magneto has options related to his shield, as well as his passive that lets him fall slowly from a height. Generally, I’d recommend turning on the option that lets you see the health bars of your allies. This is on by default when playing as a Strategist, but it’s extremely helpful to have on most Heroes. The only exception here is for characters like Hela, where you’ll want an unobstructed view for long-range kills.
Heroes like Spider-Man, Rocket, and Venom have climbing abilities, where I’d recommend selecting ‘Advance towards crosshairs’ for the direction. This is much easier to control than the default option. Speaking of Venom and Spider-Man, disable Auto-Swing, and you’ll be able to web zip to the ground. Hold to Swing gives you more control as well. Whenever you’re picking up a new character, spend some time in the Practice Range and dig into their Hero-specific settings, as some of them make a huge difference.
Make use of your back paddles
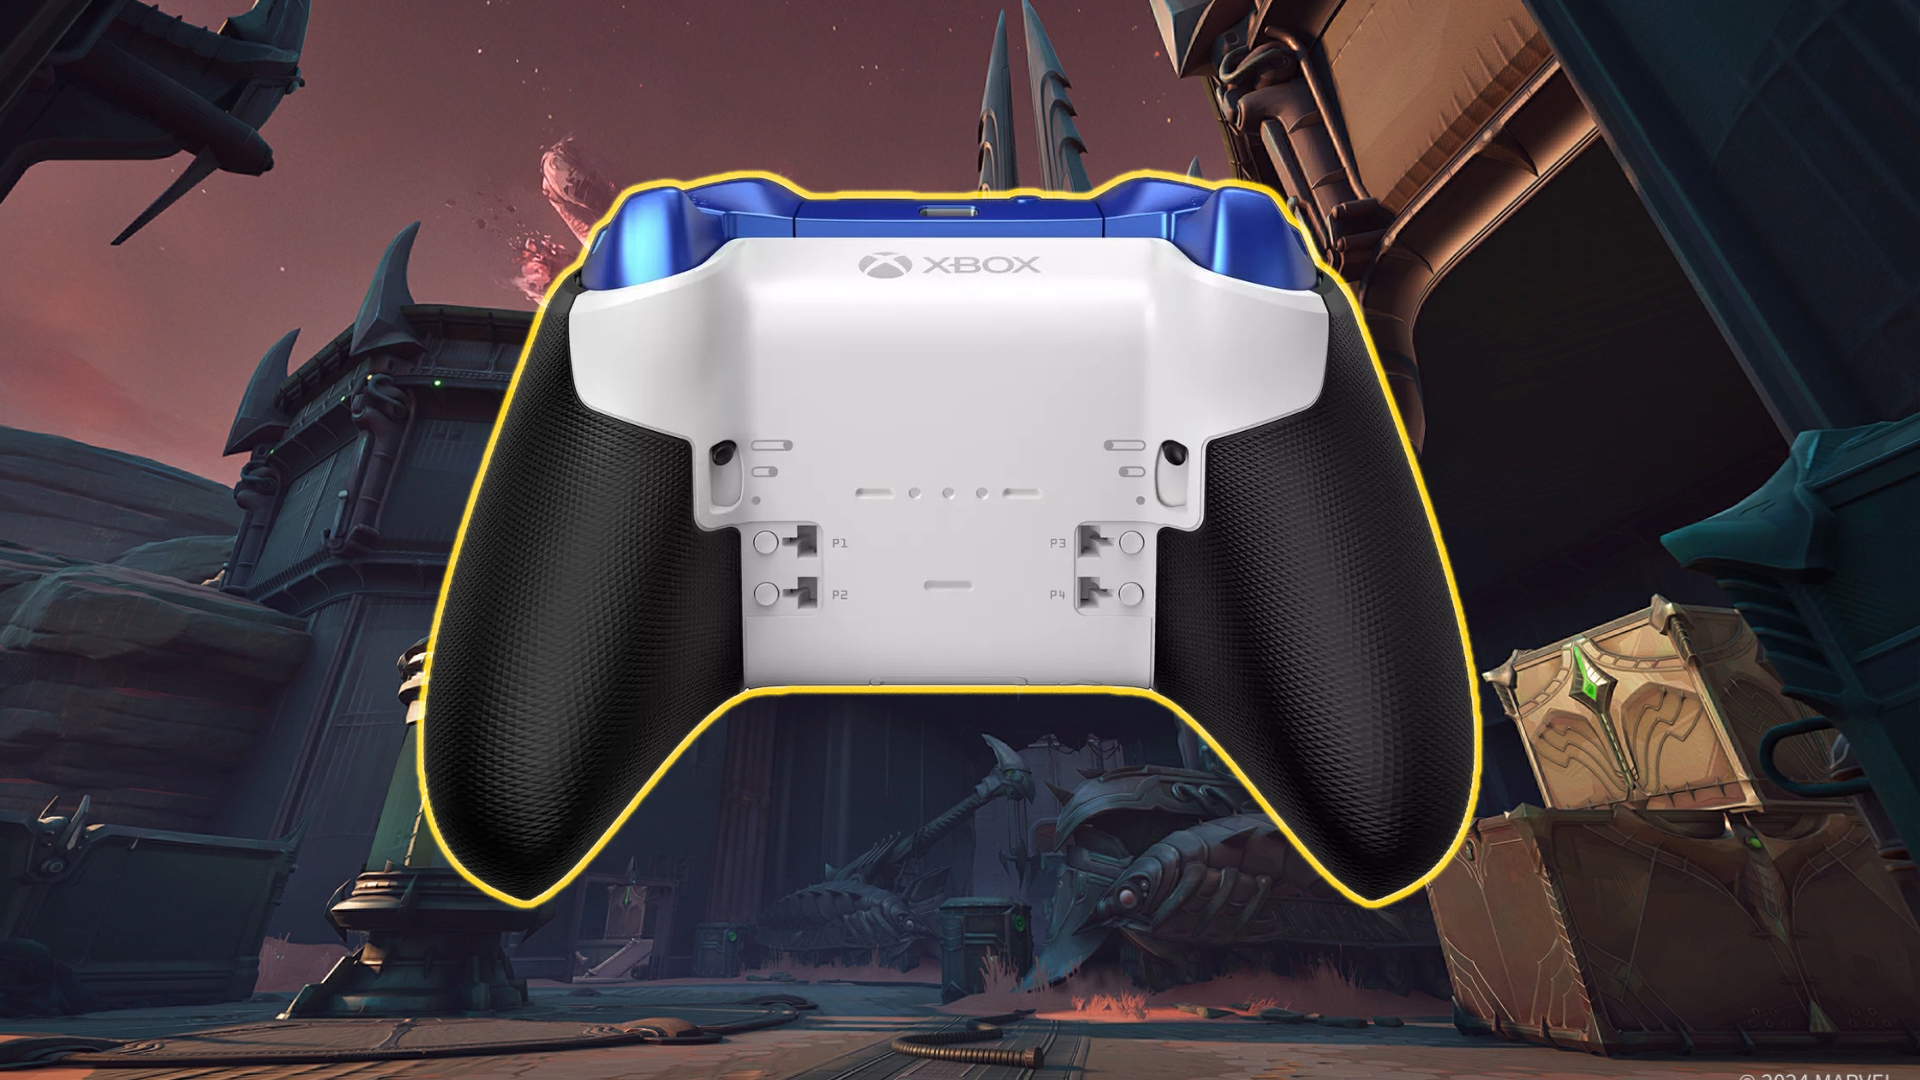
Now onto back paddles, which some of you will be using on certain controllers. I play Marvel Rivals using the DualSense Edge PS5 controller, so I have access to two back paddles. I have two different profiles set up, for different Heroes that I play as. The primary profile binds the ‘X’ button to the left back paddle, allowing me to jump without taking my hand off the right stick. This is my main recommendation for a button to map to a back paddle.
On the other I map either ‘Square’ for reload, and certain abilities like Spider-Man’s Uppercut, or ‘Circle’ for Heroes like Mantis and Mr Fantastic, who have regular abilities that need to be triggered there. If you’re lucky enough to have four back paddles, like with the Xbox Elite Series 2 controller, I recommend sticking your general Ping onto one of them, and leaving the last one down to another one of your Hero’s main abilities. For example, placing ‘Triangle’ onto a back paddle lets you activate Peni Parker’s Symbiotic Team Up with Venom, without having to take your thumb off the right stick.
Setting your Trigger Effect Function and Vibration
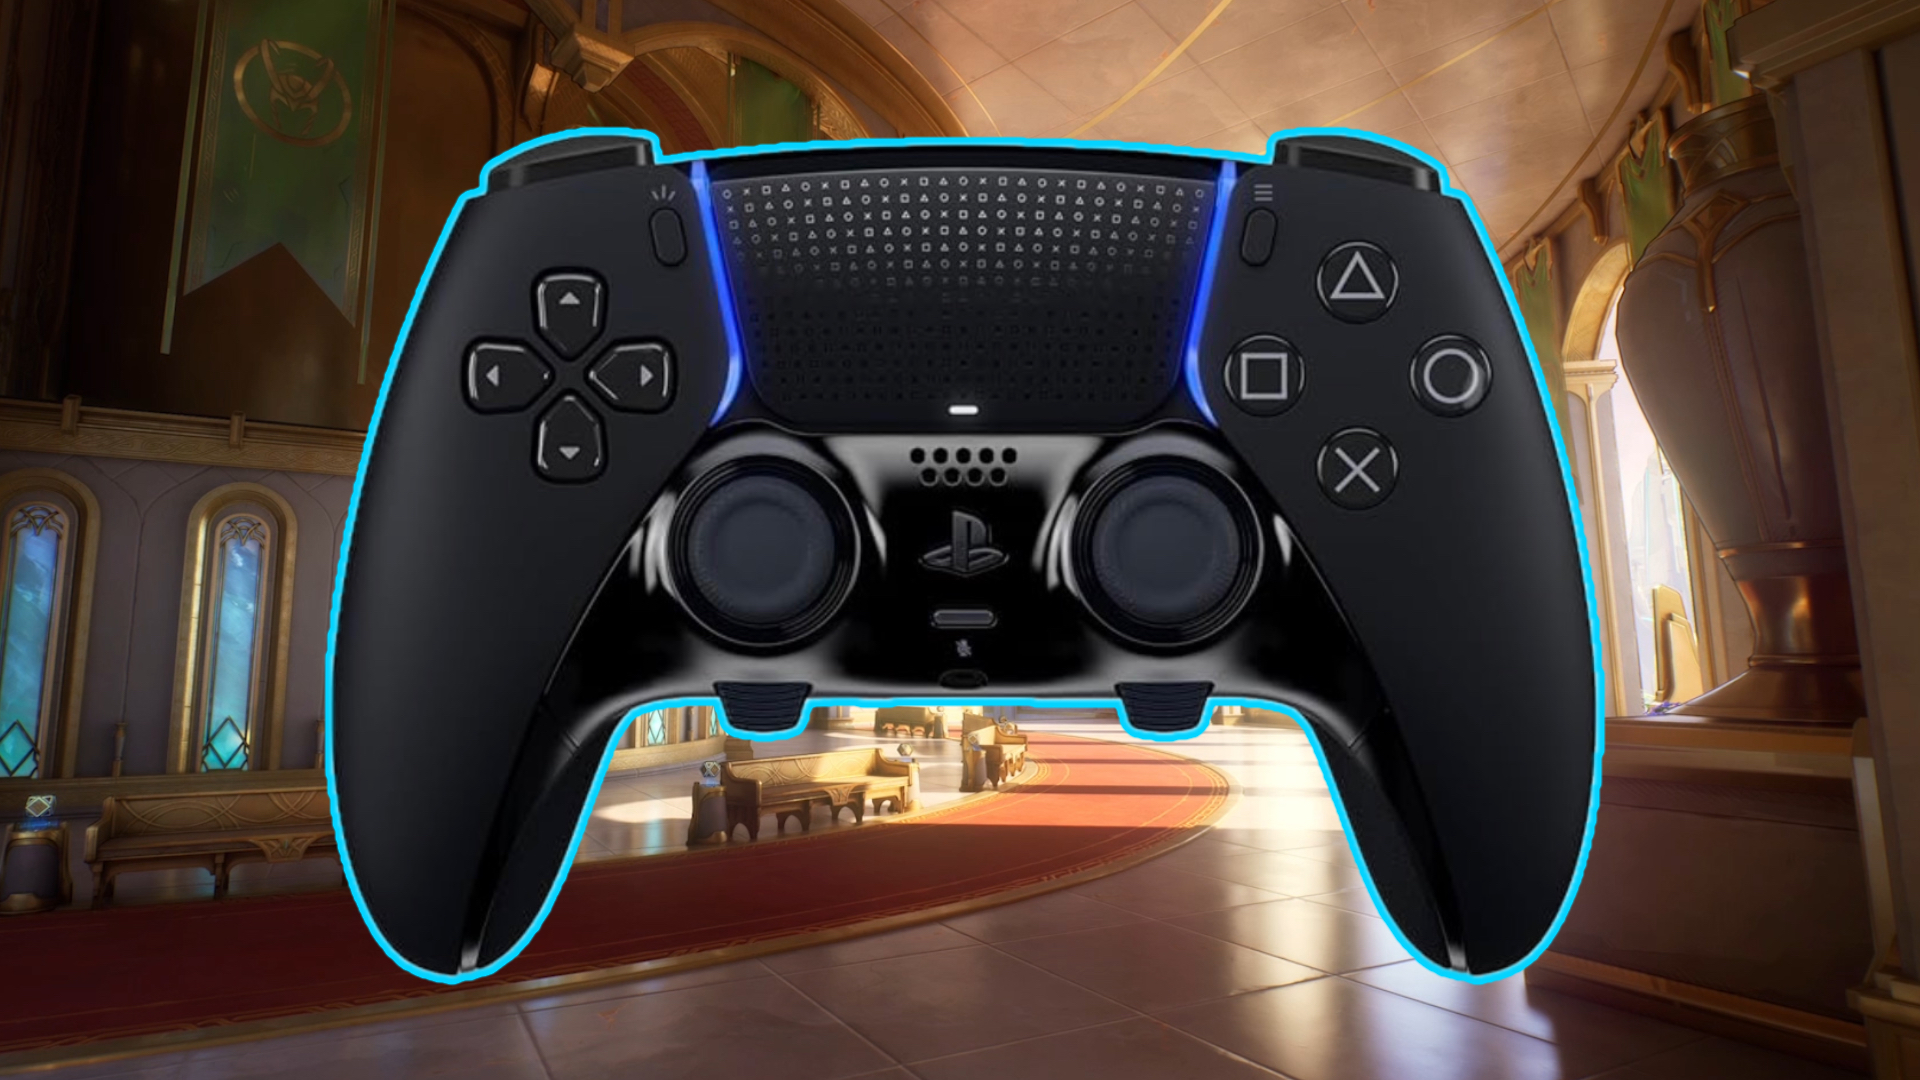
Now onto vibration and triggers. It’s usually recommended to switch off vibration completely while playing competitive games like Marvel Rivals, but I like having the Tactical setting selected. This gives cues when enemies are setting off ultimates, and generally just adds an extra level of immersion to battles. I find Marvel Rivals can get very visually messy, so audio and vibration can help me pick out what’s happening more clearly.
For Trigger Effect Function, switch everything off. While the PS5’s adaptive trigger features can be fun at times, they can be quite distracting when playing shooters. Similarly, I set my DualSense Edge to the lowest trigger input setting (smallest dot icon) using the switches on the back. They’re closer to being buttons, meaning faster firing and simpler inputs.
Marvel Rivals best controller settings FAQ
Can you be good at Marvel Rivals on controller?
Yes, you can be very good at Marvel Rivals on controller. While you’ll not have the precision of a mouse and keyboard player, Marvel Rivals is a Hero shooter, and is as much about understanding the game as it is about good aim. For this reason, Vanguards tend to be good choices for controller players, especially Doctor Strange and Magneto. The Punisher is also great, as the aim assist on controller really pairs well with his primary fire at range.
Ultimately, unless you’re planning on getting into the top three ranks in Marvel Rivals, you’ll do just fine on controller. Heroes like Cloak and Dagger and Jeff are good to start with, as they don’t require precision aiming, and will help you learn the ins and outs of battle while playing.
What’s the best controller to use for Marvel Rivals
The best controller to use in Marvel Rivals is the Razer Wolverine V3 Pro. It features six mappable buttons (two on the bumpers, four on the back), and makes use of proprietary Razer PC gaming mouse tech for satisfying inputs. There’s Hall effect thumbtacks too, eliminating the risk of stick drift. You can pick up either an Xbox or PlayStation version of this controller.


Leave a comment